I like going to the beach when I'm on vacation so I decided to land near the coast. Once I got to the beach, I decided to lie down to get some sun. In the distance I could hear some gun shots. On the feed, I see that about 20 people have already died. The ocean breeze is nice.
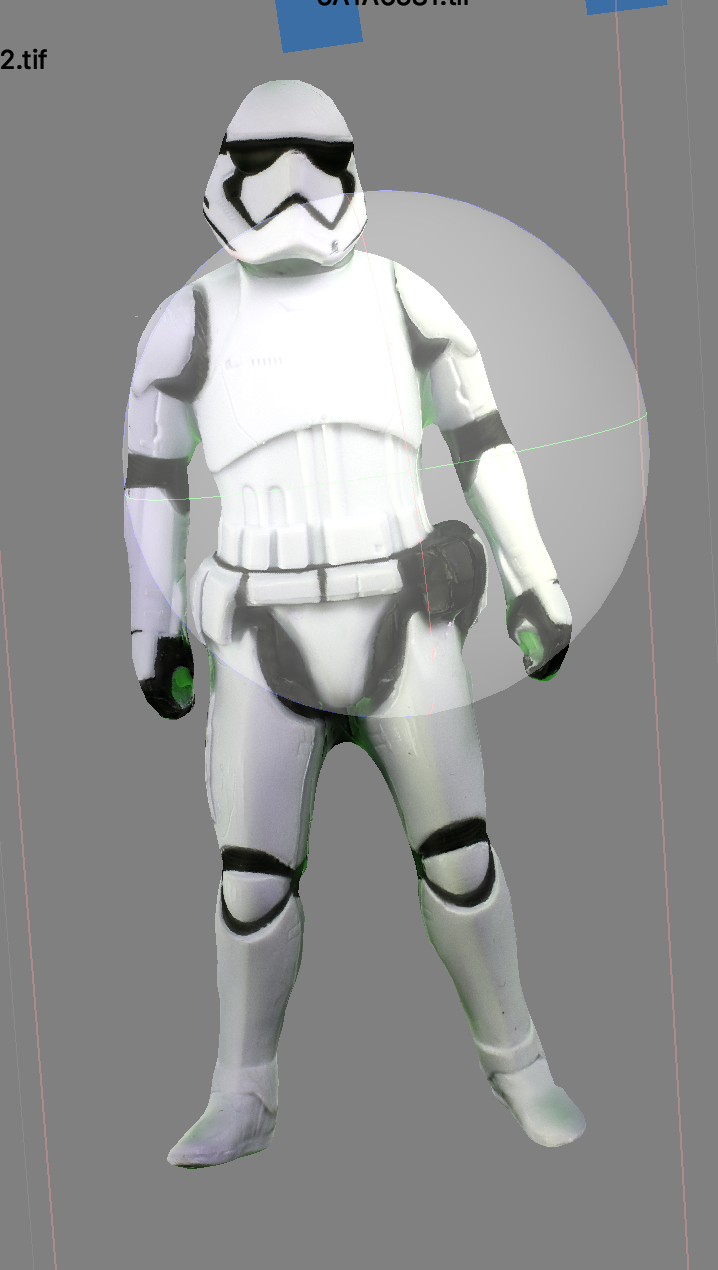
Another game mechanic of PUBG. A couple minutes after all the players have landed on the island, the game forces users to congregate in certain areas of the map by reducing the playable size of the playing field. The game does this by implementing a huge circle that's the size of the island that shrinks over time. If players are within the circle, players are safe. But if players are outside of the circle, they take damage over time. So if they stay outside of the playing area too long, they will eventually die.
Luckily for me, the area I was in was pretty near the center of the circle, so I was in no hurry to move. Unlucky for me, this means that more and more people are going to come closer to my little private beach getaway. I decided to get some more sun. About 30 more people have died.
The gunshots were getting louder and louder. It was getting harder to relax on the beach, so I decided to get up and go for a walk. There was a villa nearby, so maybe I could relax there. As I approached the villa, a bullet whizzed by my face. Another bullet hit me. I see blood spurting out of my body. Maybe it was an accident, so I kept walking towards the villa. Another bullet whizzed by and another hit me. It would seem that someone was trying to kill me on my vacation. A final bullet came and hit me and I fell to the ground, bleeding out. I eventually died. I was never able to even locate my mystery killer. I came in 38th place.
Going on vacation in PUBG was surprisingly a good tactic. Recontextualizing the space of PUBG was interesting to me since this game is usually a tense and nervewracking experience. By relaxing and not caring about winning, I was able to beat 62 other players by laying on a beach. I would definitely vacation here again.